

How To Draw A Rose With A Heart
Roses look like they're hard to draw, but you lot'll meet in this tutorial just how easy information technology can be.
In this tutorial, we'll go through iii piece of cake ways you lot can draw a rose using Procreate.
Here's a quick overview of the article.
- Tools needed
- How to draw a rose (front view)
- How to describe a rose from the side
- How to draw a rosebud
- Concluding words
Let'southward get started.
Tools needed
Yous will need an iPad, an apple pencil, or a compatible pencil, and Procreate for this tutorial.
I'll be using my prepare of swell brushes but feel free to utilize whatever brushes you want.
How to draw a rose (front view)

We'll begin our tutorial by drawing the front view of a beautiful rose.
Pace one - Describe a circle
Start by cartoon a circle using the Master Pencil from my Nifty Brushes for Procreate.

This will be the space your rose analogy will cover.
Step ii - Observe the center of your rose
Marking a point where the center of your rose volition be.

This point doesn't need to be in the center of the kickoff circumvolve.
Step iii - Depict the main silhouette
This tutorial will show you dissimilar styles to draw roses.
In this outset method, you'll draw the silhouette of the rose.
I'm using the Main Pencil form the Nifty Brushes for all the skethcing.

This will help you see if your overall illustration translates equally a rose.
Step 4 - Draw the inner bud
Draw two circles to kickoff defining the shape of the inner bud.

Step 5 - Curvy lines
From the centre indicate you created, start to create curved lines that go in the same direction.

These lines should stay in the smallest circle you made.
These will be the inner petals.
I like to add a chip of shadow during this stage so information technology's easier to add color subsequently on.
Step half-dozen - Continue swirling
Go on on calculation curved lines that go in the same management.

Pace vii - Turn them into petals
Add a curvy line that resembles a "V" to close the lines you did in the previous pace.

Add some shadows to turn these lines into petals.
Step 8 - Keep building the petals
Keep to draw curved lines that bear upon the second circle you lot drew.

Add some shadows to define the petals.
Keep doing this until the second circumvolve you made is full of petals.

You don't need to worry nigh making this footstep perfect, right now we're defining the shapes, and later, we'll add colour and details.

Step 9 - Finish the petals
Connect the silhouette with the petals y'all drew already using lines and mild shadows.

Once y'all've done this, y'all tin rename this layer "Raw Sketch".
Lower this opacity of the raw sketch, brand a new layer on peak of this one.

Trace the lines so y'all can have clean lines for your sketch.
I'thou using the Sharp H Pencil from the Swell Brushes.
Stride ten - Go the colors out
Complimentary color palette: Yous can get the colour palette I used for this illustration hither
Make a new layer under your sketch and add a base color.
For this part, I used the Base Color brushes from the Nifty Brush ready.

Step 11 - Start to add shadows
Brand a new layer and identify it on meridian of the base color.
Click on that new layer and plow on "Clipping Mask".

Clipping masks are a great way to add details without having to worry most staying inside the lines.
Footstep 12 - Start to add together dimension
Using a darker color than the base, start to add shadows to the petals
I'm using the Pencil Make full brush from the Slap-up Castor gear up for all the colour shadows of this rose.

Choose a darker version of that colour and continue to add together shadows in the darker areas.

With a lighter version of the base color, add pocket-size highlights to the ends of the petals.

To cease this stride, choose the darkest color so far and add together some darker details in the nighttime areas of the rose illustration.

Footstep 13 - Bring in the Detail
Using a lighter version than the base of operations color, kickoff to add some details to the petals to make them await more fragile.

Proceed to exercise this until you're happy with how it's looking.
Step 14 - Finishing touches
I love to end my rose illustrations by calculation some h2o aerosol as a finishing touch.
They're really piece of cake to make.
Just start by drawing tiny circles on a new layer on acme of your rose analogy.
For this I used the Base Color castor in small-scale various sizes.

Once yous've done that, add together shadows to all of them.
I'm using the Pencil Fill castor again for the shadows and details of the drops on the rose.

Continue by adding highlights with a lighter color.

To finish them up, add shadows under each droplet.

And there you take it!
You finished your rose illustration.
How to depict a rose from the side

Footstep 1 - Draw a circle
This circle volition determine the size of your rose.
I'1000 using the main pencil from the Nifty brushes fort he whole sketch of this rose.
Step 2 - Small ovals
Allow's determine where the center bud of this bloom will exist.
Draw a small oval inside the circle to determine the top of the center bud.

Draw a bigger oval shape for the lesser part of the center bud of the rose.

Bring together these two with slightly curved lines.

Stop up by drawing a modest circle inside the top oval.

Step 3 - Get-go to make it a rose
Brand a new layer.
Using the pocket-size circle for reference, describe some soft triangular shapes to create the center of the rose.

Stride iv - Wrap the centre with petals
Draw two petals around the eye, the top one should go all the mode up to the small oval shape.

Go on to add petals that go around the center.

I like to add light shadows during this part because it will brand information technology easier when we get to the color to know where the shadows go.
Describe two more petals.

The farther you are from the eye, the bigger the petals.
Depict 2 more petals to finish the key bud of the rose.

Footstep five - More than petals
Continue to draw petals until y'all reach the showtime circle you drew.

Finish the sketch with two more than petals.

Don't worry too much about the shadows, this is simply your sketch.
Step half-dozen - Get to the details
Lower the opacity of the sketch you lot just fabricated, make a new layer and place it underneath.
Cull a base color and add together it to your illustrations following the silhouette of your sketch.
For this office, I used the Base of operations color from the Nifty Brush set.
This is the color palette I used for this tutorial.

Make a new layer and place it on top of the base of operations color.
Click on the new layer and plough it into a clipping mask.

With a darker version of the base color, start to add together some shadows.
I added all the shadows and details with the Pencil Fill brush from the nifty castor ready.

Brand a new layer and turn it into a clipping mask equally well.
Use a more saturated version of the base of operations color to add some interest to your illustration.

Continue to exercise this until yous like how information technology'due south looking.
Step 7 - Lights
Utilize a lighter version of the base color to add some highlights.

Step viii - Shadows
Using a darker version of the base color, kickoff to add shadows to the darker areas.

Keep building the shadows with a slightly darker color.

Pace nine - Finishing detail
To stop your rose illustration, let'due south add some water droplets.
To do this, utilise a lighter version than the base color and draw some small-scale circles all over the bloom.
I'1000 using the base colour brush from the nifty brushes to create the pocket-size circles.

Brand sure that the droplets are on a new layer.
Add shadows to the droplets.
I'm using the Pencil fill brush from the Nifty set.

Employ a light colour to add highlights to the drops of water.

Brand a new layer and place it underneath the drops to add shadows to them and brand them look more realistic.

And at that place you have it, you lot drew the side view of a rose.
How to draw a rosebud

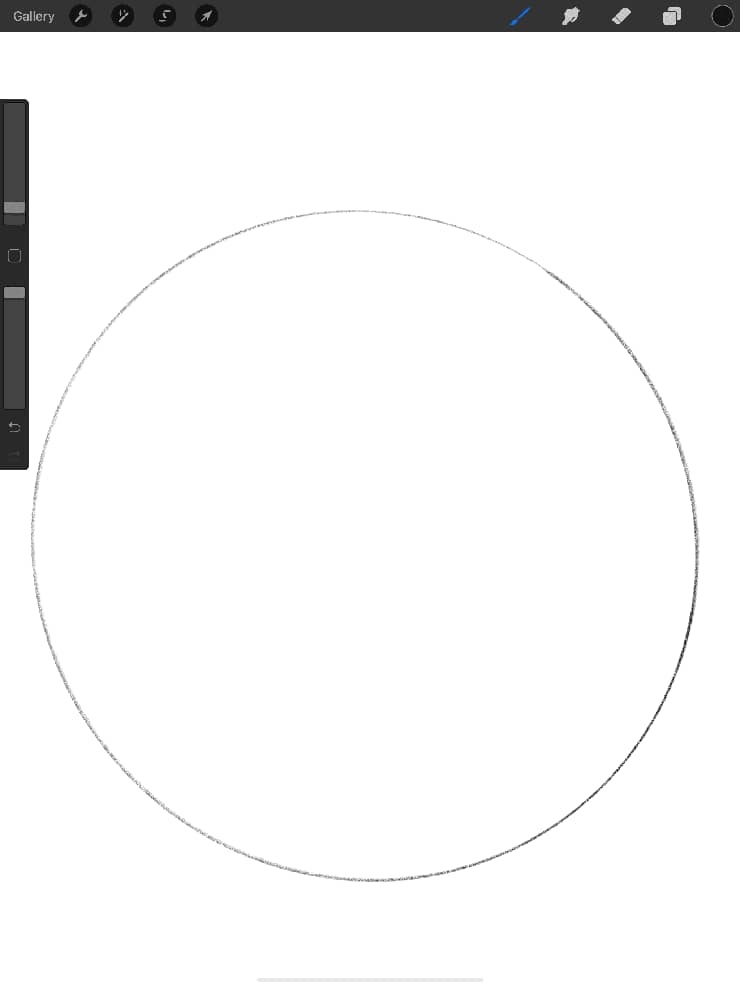
Step 1 - Start with the main bud
To begin, depict a circle.
I'thou using the main pencil from the peachy set of brushes for the whole sketch.

Depict a smaller circumvolve on top of the beginning circle you fabricated.

At present, connect the two circles with soft curvy lines.

Stride 2 - Practise the primal spiral
In the smaller circle, draw a spiral.
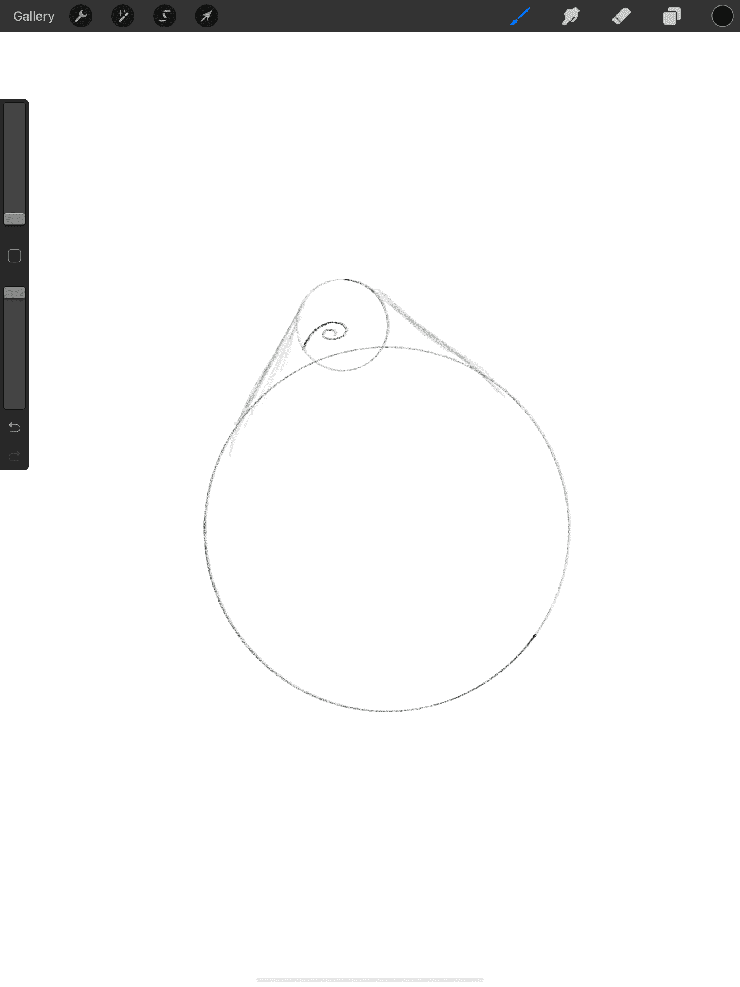
This will exist the center of your rose.
Now, draw 2 lines to make the eye of your rose.

Pace 3 - Petals, petals, and more than petals
Using soft lines, add 2 more petals.

Pro tip: When y'all draw petals, effort to employ lines that aren't very smooth. petals are soft, flowy, and fabricated with organic lines.
Add together some other petal and then you create a soft eye shape.
Elongate one of those lines.

Connect that line with the soft heart shape and add another curved line to make more petals.

Plow this line into a floppy bubble.

Join the floppy bubble to the outset circumvolve you drew.

Using curved, organic lines, start working on the petals on superlative of the soft heart shape.

With another soft, curved line, draw the petal that is on top of the soft middle shape.

Draw the final petal.

I like to add shadows during this stage because it makes information technology easier subsequently when it'south time to add colour.

Footstep 4 - Add the stem
Using organic lines, create 4 "Five" shapes to make the small leaves that join the flower and the stem.

Using two lines, describe the stem.
You but finished your rosebud sketch.
Footstep v - Time for color and details.
Make a new layer and place information technology underneath the sketch layer.
Lower the opacity of the sketch layer.
Choose a base color and utilise it to the new layer and follow your sketch.

Hither is the color palette I used in this tutorial.
For this part, I used the base color brush from the Keen Brushes for Procreate.

Footstep half-dozen - Shadows
Using a darker version of the base of operations color, first to add shadows to your rose analogy.
For all the shadows I used the pencil fill castor from the Cracking brushes.

Proceed to build up the shadows.

Pick slightly darker versions of that color each fourth dimension and keep adding shadows.

Ascertain the shadows with the darkest color you've used so far.

Step seven - Lights
Utilise a lighter version of the base color and offset to add lite to the petals.

Continue to exercise this to slowly build upward the highlights.

Step 8 - Color the stem
Apply a base green for the stem and small leaves.
I used the base of operations color brush from the nifty brushes for this.

Once you lot have the base color, make a new layer, click on it and plow it into a clipping mask.
Showtime to add shadows with a darker shade of light-green.
I'thousand using the Pencil Fill brushes from the Peachy prepare of brushes to do the shadows and highlights on the leaves.

Use a lighter version to add some lights to the stem of your rose.

Step 9 - Actress details
Using a lighter version of the base color start to add together pocket-sized circles to create aerosol.

Add shadows to the aerosol.

Utilize a lighter color to add highlights to the droplets.

Make a new layer and place it underneath the droplets.
Use a darker colour to add together shadows to the droplets.

And that'southward how y'all depict a rosebud.
Final words
That'due south information technology, that'south 3 easy means to draw roses.
I promise you found this tutorial helpful.
Let me know in the comments, what was your favorite of the tutorials.
Until next fourth dimension, stay awesome and call back, practice makes perfect.

Source: https://www.riverosillustration.com/tutorials/draw-a-rose-in-procreate
Posted by: trubytendought.blogspot.com
0 Response to "How To Draw A Rose With A Heart"
Post a Comment